


As a mom of three boys, I like to pamper myself a bit. One of my favorite ways of doing so is by having my nails done. When gel manicures came on the scene, I was all about them. I love having my nails done, but as any mom knows, the time and money needed to keep up regular manicures oftentimes outweighs the biweekly indulgence.
As life gets busier, I just don’t have the time to sit in the salon chair every few weeks. Of course, I can paint my nails with regular polish at home, but we all know that’s a waste of time…my nails don’t last a day before they are chipping. I really wanted the lasting power of gel manicures without the price tag, so one day a few months ago I started doing some research. After reading some tutorials and browsing Amazon, I bit the bullet and bought everything I needed to do at-home gel manicures. I have no cosmetology degree or natural gift with nail art, but I thought I’d give it a try.
Let me tell you, I’m so glad I did!
I bought all the supplies I needed off Amazon, where there are ENDLESS options. Do a little research and figure out what products will work best for you. I read the reviews and went from there. The initial investment in the equipment/supplies seems expensive, but after you complete two at-home manicures, it pays for itself. I will be honest in saying that there is a bit of a learning curve to doing your own gel manicures, but once you get the hang of it, it’s a breeze! The key is to not get the polish on your cuticles and to apply very thin coats of all your polish. The thinner, the better! From start to finish it takes me around 45 minutes, but that’s spent in the comfort of my own home instead of a nail salon.
Here’s a list of all the supplies you need and the steps:
Supplies:
Nail file
Nail buffer
Cuticle remover cream
Cuticle cutter/remover tools
Bond aid nail prep polish
UV/LED light
Gel base coat
Gel top coat
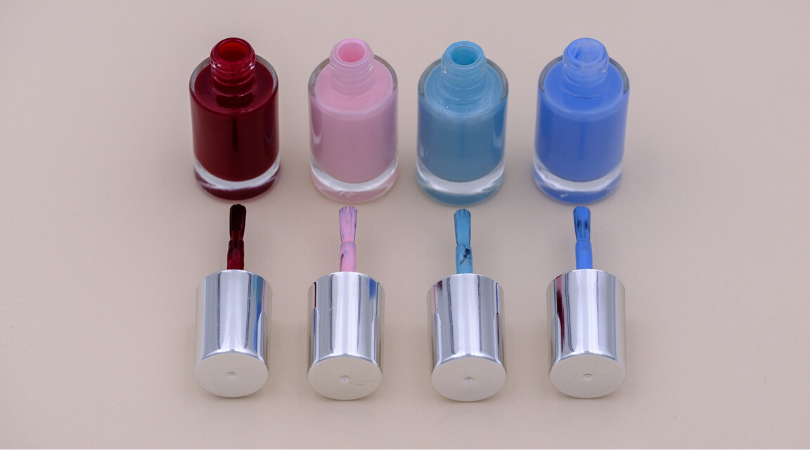
Gel polish
Rubbing alcohol
Cotton balls
Washcloth
Steps:
Take off any nail polish you may have on
Apply cuticle remover cream and push back/nip off cuticles
File nails to the shape/length you prefer
Buff nails to take the shine off the nail
Wash hands with water, no soap, and dry them with a dry washcloth
Apply bond aid nail prep polish
Apply base coat to one hand and cure under the UV light for recommended time (my light is 60 seconds)
Apply first layer of nail polish and cure under light
Make sure you “cap” all of your nails with every layer of polish to avoid easy chips
Apply second layer of nail polish and cure under light
Repeat the process if you need a third layer of polish
Apply the top coat and cure under the light
Dab a cotton ball in rubbing alcohol and swipe it over your finished nails (this will take the tacky feeling off)
Repeat on the other hand and finish!
As corny as it sounds, I was really proud of myself when I finished my first at-home manicure. I just knew it wouldn’t work, but I was able to immediately use my hands without messing up my nails just like at the salon. I only got better with more practice and now I love having my nails done all the time without spending a fortune.


