 Hey, it’s me, your neighborhood photographer again. This time, I’m going to tell you how to take amazing photos of the family this holiday season. Say goodbye to missed moments of blurry holiday cheer.
First things first: the camera.
All you need is the best camera in the world — the one you have at that moment. There have been many times I’ve really wanted to capture a moment well so I packed up my full Nikon gear bag, only to never get it out and just snapped the moments with my phone. I don’t see camera phones as an industry killer for working photographers like me; instead, I see them as an opportunity for everyone to keep memories close. So when the moment strikes, just grab whatever camera is handy (in this case, we are going to assume that it is your phone).
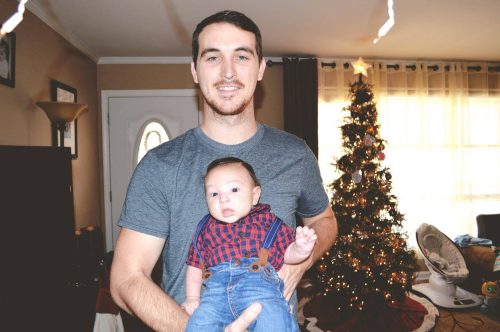
Photo quality is oftentimes the reason I want my pro camera, but the advancements of phone cameras have really come a long way. To get a photo quality worth printing, head to the settings and make sure you have the highest resolution available saved. Then see if you have the option to write RAW (DNG) and JPEG files. The RAW files are much larger and would allow more editing and larger prints if you get a really good one. Also, make sure you have any storage efficiency turned off as this may compress the file and you’re right back at a small social media-sized file.
Turn the grid on. There are usually various grid options in your camera to help you compose the frame. The easiest thing is to stick to the rule of 3: have your main subject(s) compose 2/3 of the frame. There are ways to place that 2/3 that is more appealing to a viewer, so if your phone has the Golden Ratio or something similar, I suggest using those grid lines for reference. As you can see here, the landscape is about 2/3 of the image, and the sky is the other third. This lets you know what the photographer wanted you to focus on.
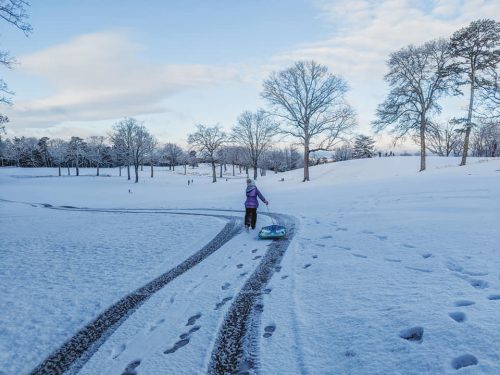
Most cameras default to around a shorter focal length. There is a bit of distortion that happens here. Things closer to the camera will appear larger and things pushed back will be smaller. Use that to your advantage and tilt the camera down to focus on the face, have groups lean slightly towards the camera, and have those sitting lean in like they are talking to you. This is a great trick I use for all my clients, but especially curvy clients. Notice the distortion in this photo of Bear from last year.
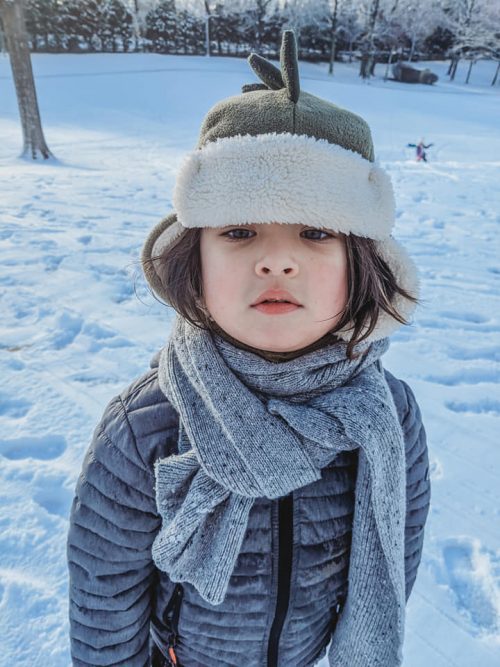
Ok, lighting. Lighting will make or break a good photo, but most cameras are good about adjusting automatically so I won’t go too far down the technical rabbit hole. But keep in mind that more light fills fine lines and wrinkles. I love snapping photos of my babies in the morning and evening light that cuts in through the windows and overcast is the optimal outdoor preference. If you can’t avoid the sun, try to do family photos just inside a shaded spot — think open garage door lighting or try to do it the last hour or so before sunset.
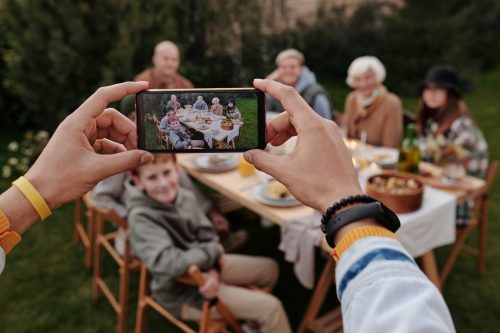
Editing! Remember how we changed our files to RAWs? This is going to also allow a little more photo manipulation. Pull your images into an editing app and turn up the exposure, pop some fall colors, brighten Christmas lights and have fun. And don’t forget to print your favorites!


