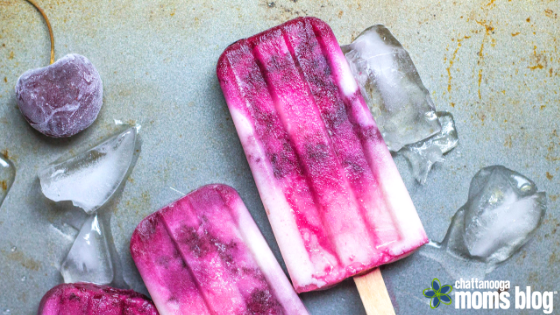
Nothing screams summer quite like chomping on a popsicle with the juice dripping down your arm after playing hard with your friends. Growing up, we always had popsicles in the freezer and they couldn’t keep long enough, especially with five kids around. As I got older, I steered away from popsicles because I didn’t want the store ones and there wasn’t anywhere to get a good one. In recent years however, popsicle shops have made their way onto the ice cream scene and are popping up all over the place. We even have one in Chattanooga now, called Frios. Shortly after moving to town, I decided I wanted to start making popsicles because I didn’t always want ice cream, but still wanted a cold dessert in the summer. Plus, a popsicle is a good teether for my eight-month-old when her vampire teeth are coming in.
When I need a new kitchen item I do my research and I dig through the internet for reviews, even for a popsicle mold. You may not believe me, but there is a lot to consider when choosing the correct popsicle mold. Do you want the classic look or a kitchy design? Silicone or plastic? Fully reusable or use wooden sticks? Popsicle bags or a mold? There are many things to consider and after some thought, I decided to go with a classic mold that uses wooden popsicle sticks. With my parameters narrowed down it was on to finding the best reviews. I ended up going with the Norpro and for $9, I was sold. You can find a similar one by Progressive and lots of silicone versions on Amazon. I nearly purchased a Zoku, but they only had reusable bases. My fellow contributor Jessie Weaver, who also makes homemade popsicles for her four kiddos, has found that she loves these molds: Tupperware Classic, Tovolo Rocket, and the Silicone Ice Pops.
Now that you have your mold, it’s on to the recipe.
You have two options when it comes to styles: fruity or creamy. You can be as basic or elaborate with your flavors as you want. So far I have only made fruity pops, but I plan on branching out soon. This peaches and cream recipe or this rainbow cake batter recipe from one of my favorite bakers is making me want to test out some creamy pops. Who wants to be a taste tester? Maybe there will be a new dessert place in town.
Fruity Pops Basic Recipe
- 4 cups of fruit (strained after if desired)
- Liquid (lemon, apple, lime, water)
- Sweetener (sugar, simple syrup, agave)
The amount of liquid and sweetener is up to you. The liquid is mainly to help the fruit blend. Blend all ingredients together in a blender and pour into molds. Freeze according to popsicle mold directions. To make creamy fruity pops you can add yogurt or ice cream to the mix.
Simple Syrup Recipe
- 1 cup water
- 1 cup sugar
Place sugar and water in a pot and cook on medium until all the sugar is dissolved. Cool and store in the refrigerator.
Once you have some basic recipes under your belt and you have a good handle on how to use your mold, let loose and create. It’s such a fun way to let your creativity flow and let your kids become the artists. Yes, there is an art to creating food. Plus you can eat the results.


